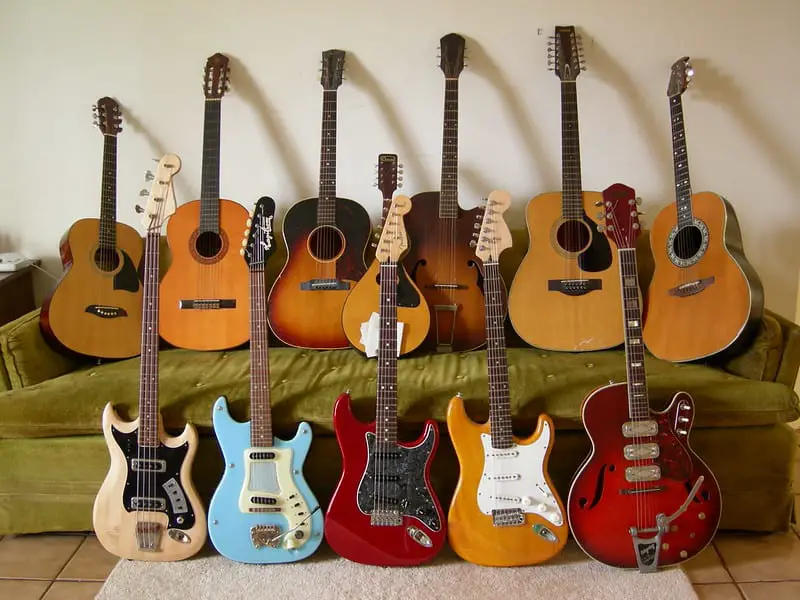
Coming across cool and personalized guitars from musicians is not a rare thing these days, as musicians will often find new ways to add a personal touch to their belongings. Rising in popularity are acrylic painted guitars, since musicians can get as creative as they want with the vibrant colors that acrylic paint offers.
So now people are wondering, can you use acrylic paint on a guitar? Definitely yes! Acrylic paint can be safely used on acoustic and electric guitars. However, you will need to follow the proper steps in order to ensure that the paint on your guitar lasts a long time.
Painting your guitar with acrylic paint isn’t something that should be done without prior preparation. Well, how can you paint your guitar so it becomes unique and personalized without ruining your artwork and the instrument? Let’s find out.
How to Prepare Your Guitar for Painting: Guitar Painting Guide
Although painting over your guitar with acrylic paint is a quick and easy way to personalize your instrument, doing it wrong would not only affect your guitar’s lifespan, but it can ruin your artwork as well. Hence, you must prepare your guitar before painting it over.
I always recommend using Arteza acrylic paints for any project. They are affordable artists paints that come in many colors and styles.
Step 1
To prepare your guitar, you should first remove the strings to get an unobstructed canvas. If your guitar has stickers or a design on it already, you’ll have to remove them before you can paint over the guitar. You can do this by sanding down the guitar carefully, as you don’t want to destroy the wood under the existing design.
Step 2
Then, you’ll need to apply a layer of wood primer like this one, over your guitar and wait for it to dry thoroughly. I recommend leaving your guitar out overnight to dry. You can also re-apply a second layer once it is fully dry, if deemed fit. Once the wood primer has dried, you’ll have to plan out your design and if needed – draw on your guitar with a pencil as a guide.
Step 3
You may use masking tape to tape over the parts you don’t want to be painted, and finally paint over your guitar with the acrylic paint of your choice. Preparing your guitar before painting over it ensures that the paint will not crack and chip after the artwork is ready, as the last thing you’ll want to see is your artwork ruined.
Step 4
Once the acrylic paint has dried, you’ll want to seal over your artwork to protect it. I highly recommend this Krylon Spray Sealer, as it protects the paint and guitar from chips, cracks and even UV rays. Below I go over how to properly seal your painted guitar.
How to Seal Acrylic Paint on a Guitar
Unfortunately, your journey in painting a guitar with acrylic paint doesn’t just end at completing your artwork. Sealing your work after painting is an essential step in ensuring your artwork won’t chip or peel.
There are two popular ways on how you can seal acrylic paint on a guitar – either by using a spray varnish or a paint varnish. Depending on how you like the finish on your guitar, you can try with either varnish to seal off the acrylic paint.
For a glossy finish, I recommend Krylon sprays. For a matte finish, you can try Aleene’s spray. They are both great products that will protect your paint.
Although applying a layer of varnish does not guarantee that your artwork won’t chip or peel over time, having this protectant layer should ensure your artwork stays on your guitar longer than expected.
If you don’t apply a sealant, acrylic paint will typically flake or peel off, especially if it’s being handled as often as a guitar is.
Can You Use Acrylic Paint on an Acoustic Guitar?
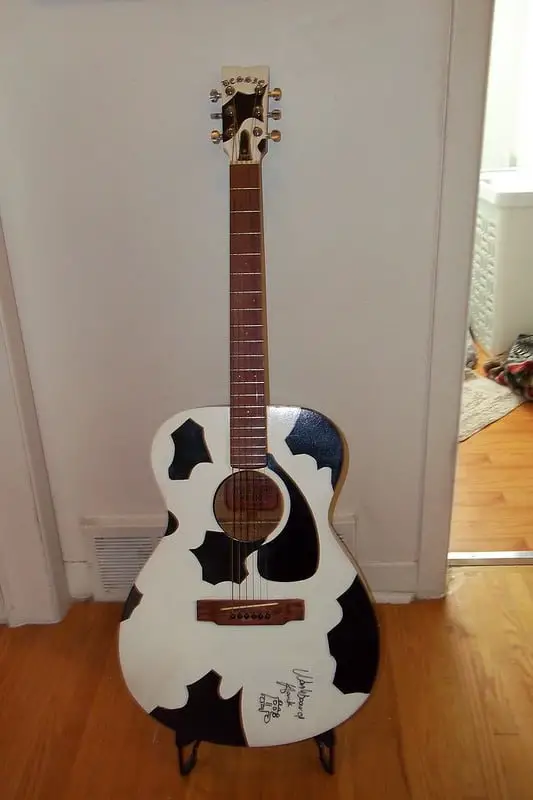
Considering how you can use acrylic paint on regular guitars, many musicians may wonder if you could also paint over acoustic guitars with the same paint. Simply put, yes, you can use acrylic paint on an acoustic guitar.
Do note that you should always prepare your acoustic guitar beforehand using the same preparation methods above. You should also use a sealing spray just like the ones above, at the end of your project to protect the acrylic paint. This ensures that your painting will not crack and peel prematurely.
Subsequently, you’ll have to remember that painting over your acoustic guitar with acrylic paint may drastically lower the value of your guitar after. If you’re considering selling your acoustic guitar for an upgrade in the future, you should generally avoid painting the guitar. Think of it like any other item that is personalized. They are much harder to sell than a regular non-customized item.
But I think, because it’s so personal, painting your acoustic guitar with acrylic paint is an otherwise great method to add a special touch to your instrument.
Can You Use Acrylic Paint on an Electric Guitar?
Electric guitars typically carry more components than a regular guitar, so many musicians may wonder if it’s safe to paint an electric guitar with acrylic paint.
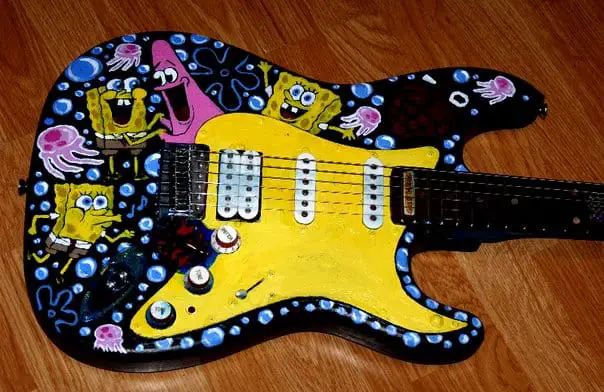
Thankfully, yes, you can. Although the steps to painting an electric guitar are more tedious than a regular guitar, there are no limitations to how creative you want to be when painting your electric guitar with acrylic paint. Just follow the same steps from the beginning of the article, to ensure your painted guitar will last a long time.
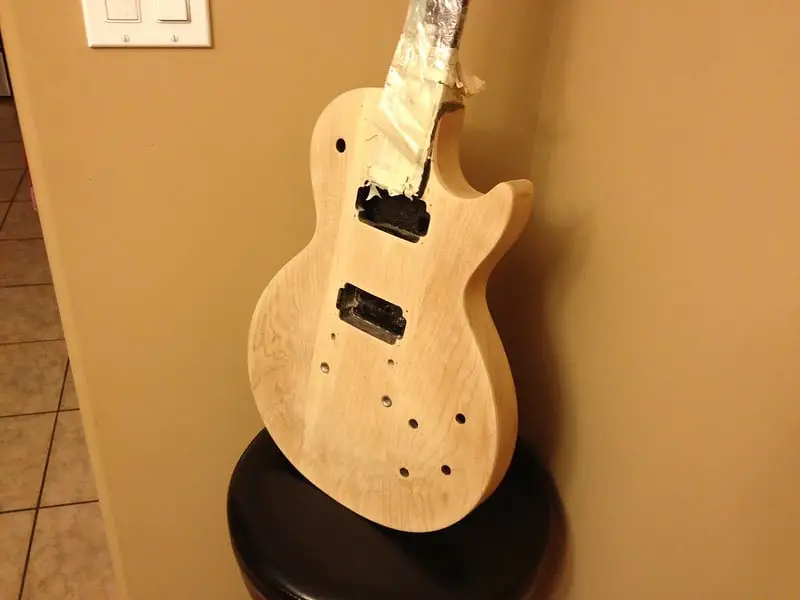
To unleash your creativity on your electric guitar, you will first have to remove all the strings and electronic components to your instrument. You can do this by snipping the connected wires around the bridge and solder them back after when you’re done painting.
If you’re not confident about doing this on your own, it’s highly recommended that you bring your guitar to a music store for them to do this for you.
Once the parts have been removed, you must then remove the existing paint on your guitar. You can do this by holding a hairdryer or a heat gun, such as this one, to the body of your electric guitar on the lowest heat setting. Take note not to concentrate on one place as you don’t want to damage the wood of your guitar.
You will then have to sand down your electric guitar. This may take some time and require a lot of patience, but is an important part of your painting process. Then, apply a layer of wood primer to the body of your guitar and allow it to dry thoroughly. If you see holes on the body of your guitar, you may fill it in with a little automotive filler.
The final step is to paint over your guitar with the acrylic paint of your choice and to seal the paint with varnish after. You can then reattach all the parts you have removed or bring your electric guitar to the music store again.
Final Thoughts
In conclusion, using acrylic paint on a guitar is a great way to customize your instrument, and you can always go all out on how creative you want to be. However, it’s important to ensure that you always prepare your guitar beforehand and to seal your artwork after. This should avoid your artwork from peeling away from your guitar and ensure that your guitar doesn’t get damaged along the way.
Just follow my recommended steps to get the most out of your acrylic painting project. Don’t forget to check out my other articles for all your acrylic painting needs. Happy painting!