Yes, you can definitely use acrylic paint on wood, and it’s best to use acrylic-grade paint for wood projects. I recommend this Arteza Acrylic set.
In this article, we’ll talk about how to use acrylic paint on wood, the best acrylic paints, primers, and sealers for projects, as well as the most common questions about painting on wood.
Before we get into how to apply acrylic paint on wood, let’s talk about the specific acrylic wood paints you’ll need.
Best Acrylic Paint For Wood
With so many options available, we made a list of our top three acrylic paint sets for wood.
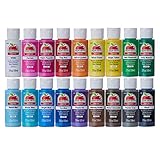


Best Wood Paint With Matte Finish: Apple Barrel
Apple Barrel offers high quality colors with a subtle matte finish. These paints are quick-drying, non-toxic, and made in the U.S.
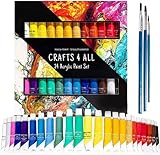
Best Wood Paint With Satin Finish: Crafts 4 All
If you’re looking for a more shiny finish, Crafts 4 All offers a gorgeous satin paint set. You also get 24 paints, which makes mixing and matching fun!
It’s one of the most affordable paint sets available today.
Best Wood Paint With Metallic Bronze Finish: Arteza
It’s no surprise, we’re big fans of Arteza at Acrylic Art World. This set comes with a very unique metallic finish, with colors like Aztec Gold and Pearl Glacier Blue. This type of finish gives your wood project a very shiny bronzed look and feel.
Who doesn’t love the 100% money-back guarantee?
Best A La Carte Wood Paint: FolkArt
If you just need one color to complete your project, we recommend FolkArt.
Their paints are considered professional-grade, offering excellent coverage and high pigment count. The satin sheen is subtle, but also helps your project pop.
Consider the following features before you buy acrylic paint for wood
There are a few features you’ll want to consider before buying your paint set.
Ask yourself the following questions:
- Is the paint formulated for wood?
- Is it non-toxic?
- Will it adhere well to wood?
- Does the set have all the colors I need?
- Does it have the consistency I want? (e.g. thick vs. thin)
- What type of finish do you want (e.g. shiny vs. matte)
Answering these questions will help narrow your search. You might also want to purchase multiple sets for different consistencies and finishes.
Next, let’s dig into how you can actually start your painting project!
Best Primers For Acrylic Paint on Wood
People often ask, “Do you need to prime wood before painting with acrylics?”
Before you start painting, you’ll absolutely need to prime your project. Pick up a primer that’s specifically designed for wood and plays well with acrylics.
Here are a few primers worth considering:
- Sargent Art Gesso: A paint-on, lightweight gesso designed for acrylics and oil paints. Waterproofs your wood once it dries.
- Rust-Oleum Zinsser Bulls Eye: This primer is designed for exterior and interior wood. The spray-on design is ideal for quick application.
- DecoArt Multipurpose Primer: Extremely affordable primer that can be used on a variety of surfaces. Clear color is ideal for painting over with colorful acrylics.
Best Acrylic Paint Sealer For Wood
The second biggest concern new painters have: “Will acrylic paint wash off wood?” The answer is no, as long as you properly seal your project with a sealer specified for wood!
Sealers, also known as varnish, provide a protective coating over your paint. They come in a variety of finishes, such as glossy and matte.
We recommend the following acrylic paint sealers for wood:
The key question is whether you want a paint-on sealer or spray-on sealer. It’s generally easier to apply a spray-on sealer, but paint-on sealers can cover a more detailed area.
How to Use Acrylic Paint on Wood
The first thing you’ll need to do is prepare the surface of the wood with an acrylic paint primer that’s designed for wood.
You’ll need the following materials:
- Sandpaper
- Primer (specifically designed for wood)
- A paintbrush
- A paint palette
- An acrylic paint for wood
Before starting, make sure to find a well-ventilated area to work, such as a room that has plenty of windows or outdoors. I like to paint on my balcony for some fresh air. Sometimes acrylic paint has a strong odor that can give the artist a headache if the room is not well ventilated.

If you are working on a small craft project, you can also purchase an easel so that you can place the wood on it and make it easier to paint. For a larger surface, such as shelves or a table, I recommend painting outdoors.
Step 1: Sand down the wood
This is the first step in preparing your wood for acrylic paint. By sanding the wood down, you create an even surface for application.
Use sandpaper to sand down the surface, preferably 140- to 180-grit sandpaper. You can use either sandpaper or a grinder.
Make sure you don’t sand against the grain of the wood!
Keep sanding until the surface is completely smooth. Then rub the wood surface with a cloth or paper towel to remove all the dust and debris.
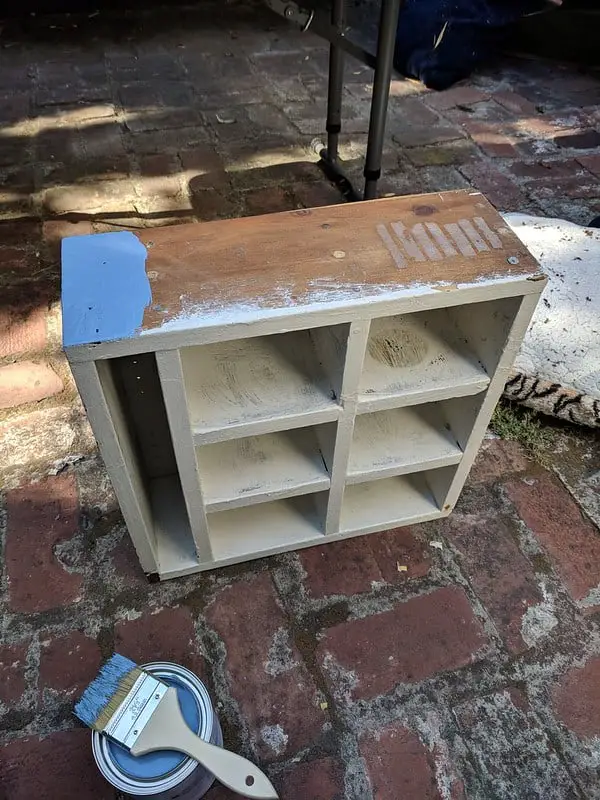
Step 2: Prime the wood
Next, prime the wood to fill all of the exterior pores, allowing the acrylic paint to absorb evenly.
I use Rust-Oleum spray-on primer since it is easy to apply. Note: It doesn’t matter what color primer you get, because you’re going to paint over the wood with acrylic paint.
It is important to apply primer evenly throughout the entire surface of the wood so that the acrylic paint goes on smoothly.
Step 3: Stencil on the wood before painting
To paint a specific design on the wood by using a stencil, gather tracing or graphite paper, and a tracing instrument. Then, trace the design that you want by placing the tracing paper over the pattern and copying it. Place the graphite paper on the wood with the graphite surface face down, and then place the tracing paper on top of the graphite paper to transfer the design onto the primed wood painting surface.
Step 4: Mix your paint
Next, have your palette ready. Squeeze the first acrylic paint color that you want to use onto the surface of the palette.
Additionally, keep a bowl of water and paper towels nearby to wash the paint from the brush when switching and mixing colors. Cleaning the brush with water between colors is important, so that the colors do not mix together to create something unintentional.
For larger applications of paint, squeeze a large amount of paint onto the palette and use the sponge or a foam brush to apply paint instead. Sponge painting can also create a fun backdrop or design when used intentionally for its texture.
Step 5: Apply the acrylic paint
Using a paintbrush, apply the acrylic paint to the primed wood, following the design if you are using one. You can use a variety of brushes for different surfaces on the wood, such as a small round brush for precision painting and a flat brush for painting around curves.
Once you begin painting, the wood is your blank canvas to create an intricate decorative painting or use broad strokes with a foam brush to create a matte or lustrous design.
Step 6: Blend your colors
To create blended colors, clean your brush and then apply another color while both are still wet, making sure to use the paper towel to help to clean and continue to keep drying the acrylic paint brush completely between colors.
Blended colors are part of what make acrylic paints perfect for wood projects.
Step 7: Let the paint dry
Once you have finished painting on one side, let the surface dry completely. Only once the surface is dry, turn the wood over to paint the other side. Again, make sure the entire wood is primed so you get the best results. If the wood surface has a base, paint that first and allow it to dry, as this allows you to rotate the art project without having to lay the wood on its side.
After you have finished painting, allow the art project to dry completely, typically over a 24-hour period. Some types of acrylic paint usually dry faster, but 24 hours is a good recommended time to guarantee the paint dries perfectly.
How to Seal Acrylic Paint on Wood
Finally, using a sponge brush, apply a sealant to seal in the paint. Wait for the sealant to dry per the manufacturer’s instructions and reapply the number of recommended coats.
The purpose of a sealant is to protect the paint from the elements. For items that expect to see heavy use, you may want to apply hard shellac and a number of coats for the proper sealant.
Sealing off the work of art is important, since it will prevent it from getting worn out with regular wear and tear, especially if it is a drawer or something else that will see daily use. I use a spray on sealant for larger projects, and sometimes for just a small wall shelf.
Spray-on wood sealers offer easy application.
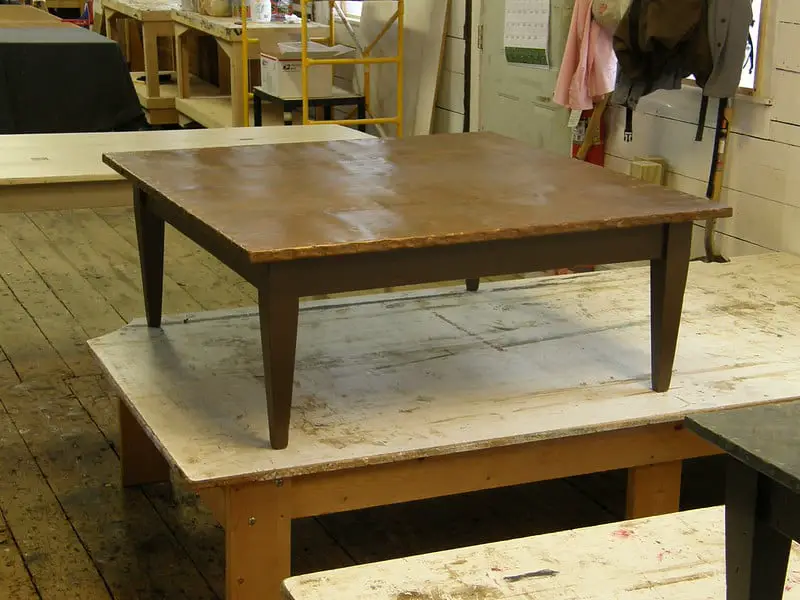
Can You Use Acrylic Paint on Stained Wood?
Yes, you can paint over stained wood. The key is to prep the surface with sanding, a cloth, and a coat of primer. You’ll need to eliminate the protective coating from the original stain in order to paint over it.
Just like the steps above, prepare your materials and the wood you will be painting. Clean the wood with a cloth to remove any dust or dirt on it. Once your wood is cleaned, sand it down with what I recommend at least a 150 grit sandpaper, keep in mind that the state of the wood will determine the amount of sanding needed.
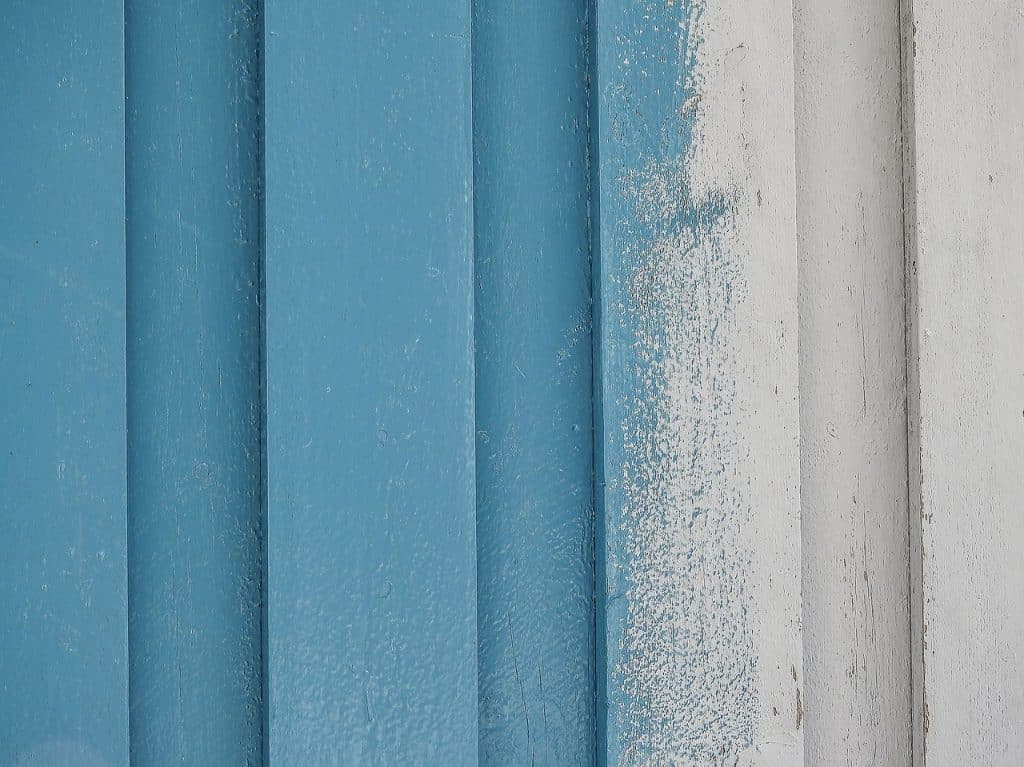
Many stained woods are waterproof and give the wood a smooth and glossy finish.
If the previous stain is not glossy, it will be even easier to paint over the existing stain.
Next, paint the wood with primer. This is an incredibly important step, because if you skip this step, your final color may come out different due to the prior dark stain.
Once the primer is dry, you can start the paint process. I recommend multiple layers to ensure adequate coverage, especially if you are painting a light based color.
Remember, do not touch the wood until the paint has fully dried for at least two hours. I would wait about 12-24 hours to make sure everything and every corner has dried properly. A good tip to know is that paint is not dry until it no longer feels tacky.
Which Paint Is Best for Woods?
When choosing the colors for your project, there are a few different types of acrylic paint to choose from. You can buy acrylics in two grades: Artist quality and Student quality. Artists quality paints (sometimes referred to as “professional”) offer more colors and have finer pigments. In other words, it’s a higher quality paint.
Students colors are cheaper, typically offering weaker and fewer colors. The difference can be subtle, but to the trained eye it’s obvious when an artist uses a more professional paint.
Student paints are a fine option for beginners, but I’d recommend using artist quality paints on projects you want to keep for a long time. Most artists will have a mix of both paints and mix and match according to what they’re trying to accomplish with their project.
| Acrylic Paint Types | Description |
| Student Grade | Typically the least expensive paint available. Tend to have less pigment than other paints |
| Gouache | Similar to water colors. Greater intensity of color. Excellent reflective and opaque qualities. |
| Fluorescent | Bright colors that appear to glow. Glow effect achieved through use of a black light. |
| Craft Grade | Generally inexpensive and versatile. |
How Long Does Acrylic Paint Take to Dry on Wood?
Acrylic paints have quick dry times, but this can lead to frustration when your bristles and brush dry out before you’re done! When I’m finished with a wood project, it’s typically dry in an hour or so, depending the size of my project.
When I paint a large cube shelf, it will generally take anywhere from 4 to 12 hours to dry. On a regular canvas however your paint will be dry within the hour or even get clumpy as you’re an hour into your canvas project. You will then need to mix and add a little more paint to keep your acrylic from drying completely.
However there are ways to delay your dry times:
- Use oil paints for slower dry times
- Use a retarding / slowing medium
- Buy an interactive acrylic
The third option (interactive acrylic) is a new formulation that can slow drying times by more than a week, so it’s a great option if you want the advantages of acrylics without the downsides of oil paint
Open acrylics are a convenient solution for people looking to replicate oil paints with acrylics.
Is Acrylic Paint Good For Wood?
Yes, acrylic paint is good for wood. It won’t harm your wood as long as you treat, primer, paint, and seal the wood. In fact, you can have an amazing finished product once you’re done.
So whether you’re painting on regular wood or stained wood, just remember to follow the steps and check out my other articles for more information regarding your projects.
Happy Painting!
This post was last updated May 22nd, 2021 with the freshest information.