Are you looking for a fun way to spice up your Shrinky Dinks? If so, you’ve come to the right place. Acrylic paint is an extremely versatile type of paint that can be used on canvas, wood, glass and even clay.
But will acrylic paint work on these awesome Shrinky Dinks? Definitely yes! Acrylic paint is a water based type of paint, therefore it can be used on Shrinky-Dink material to make vivid, beautifully colored art.
But before you get your Picasso on, there are a few important things to do, in order to ensure your Shrinky Dinks adventure is a success. Let’s read on!
Finding the Right Type of Acrylic Paint
There’s so much to love about acrylic paint. It’s packed with pigment, it’s super easy to clean up with water, and there’s a blend of acrylic paint for just about any surface type. One of my favorite acrylic paint brands is Arteza, they have tons of colors and styles to chose from.
I also recommend using a glossy or ink based acrylic paint. If you use a matte base on the shrink plastic, it might flake or crack. Apart from using acrylic paint for your Shrinky Dink, sharpies, paint markers and pens work too!
When you’re applying the paint on the plastic, make sure you don’t a heavy or thick layer. One or two coats should be fine. After you’re done painting it, it’s time to bake it! If you are looking for a cool kit, I highly recommend this one from Amazon. It has everything you need to make tons of shrinky dinks.
How To Bake Shrinky Dinks in the Oven
First, you’ll need to set your oven to 325 Fahrenheit, and only pre-heat it 1-2 minutes. You can either use a small toaster oven, or a regular oven. When your oven is ready, put the tray of shrinky dinks in, for about 1-3 minutes.
Your Shrinky Dinks will start to curl at first, but will even out afterwards, so don’t worry. Once you see that they have flattened out, bake them for about 30 more seconds.
Next you want to remove the tray from the oven. If you notice that they are still curled a little, you can flatten them with a small towel. Let the shrinky dinks cool down for a few minutes before touching them.
You may notice that they shrunk in size, and are now only 1/3 of their original size. Even though they are smaller, they are now 9 times thicker and the colors you painted on will be much brighter and vivid.
Use Ink Base Acrylics
In the realm of acrylic paint, you’ll find various types to choose from. When it comes to Shrinky Dinks, you want to work solely with ink-based acrylics. Ink-based acrylics consist of super fine pigments held in a state of emulsion similar to water.
Ink-based acrylics are the thinnest liquid form of acrylic paint available, and thus the best suited for the process of shrinking.
I recommend this alcohol ink based set from Amazon. It comes with 18 colors, and they are super vibrant!
Why Can’t You Just Use Regular Acrylic?
The shrinking power makes decorating the Shrinky Dinks with acrylic paint a challenge. Shrinky Dinks are made of a special type of plastic called polystyrene, and that’s where the magic is at.
Polystyrene has a unique ability to remain rigid and sturdy at room temperature, but when heated, becomes extremely pliable as machines stretch the plastic polymers. Once stretched to the .3 mm thickness of Shrinky Dink sheets, they are quickly cooled to keep the polymers that size.
When heated again in a home oven, these sheets compress and shrink down further. The reheated plastic polymers cool into a denser state, hardening into a slightly bendy plastic that’s perfect for the earrings, charms, and other accessories that Shrinky Dinks are famous for. Using non-ink based acrylic will lead to cracking. Not a good look.
Using the Right Technique With Acrylic
The number one trick to a successful acrylic painted Shrinky Dink is patience. Well, patience and plenty of time.
Acrylic paint provides some of the brightest, most vibrant color results for Shrinky Dink projects, but it takes more time than other mediums. It takes longer because acrylic paint needs to dry layer by layer before being shrunk in the oven.
The time it takes to decorate Shrinky Dinks with acrylic paint can triple if the colored design is complex or if adding blended layers. Before adding intricate details to say, a rose, the base color of pink would need to dry first before adding individual petals.
If you’re planning on using acrylic paint to liven up your Shrinky Dinks, be sure to let the paint dry completely before popping it into the oven. It’s essential not to overbake the Shrinky Dinks, which increases the risk of burning plastic and flaking or peeling paint.
To prevent any flaking once the plastic has been shrunk and protect your awesome new accessory, you can apply a sealer to the Shrinky Dink like this one here.

Coloring Shrinky Dinks with acrylic paint may take a bit longer, but it is so worth it! Acrylic paint creates a lustrous, deep color that traditional Shrinky Dink coloring tools can’t. With a little patience and a paintbrush, your next Shrinky Dink project will be a gorgeous success!
How to Make Shrinky-Dink Ornaments That Wow
Need a great Christmas gift or even tree ornament? I’ve got four words for you: Acrylic Painted Shrinky-Dinks. These ornaments pop with vibrant colors and holiday cheer and take no time to make! Keep reading to find out how to do it yourself!
The Shrinky-Dink Details
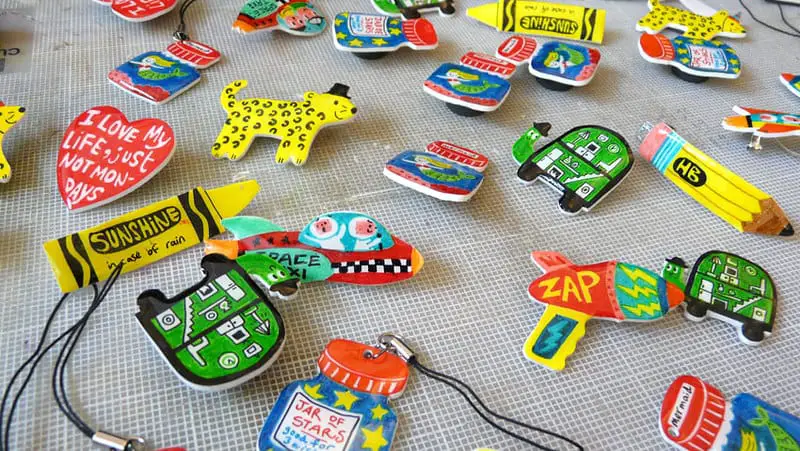
Shrinky-dinks were big in the eighties, like, really big. My mom has entire boxes of charms and knick-nacks made with shrinky-dinks, from headbands to keychains. They were the ultimate mode of expression.
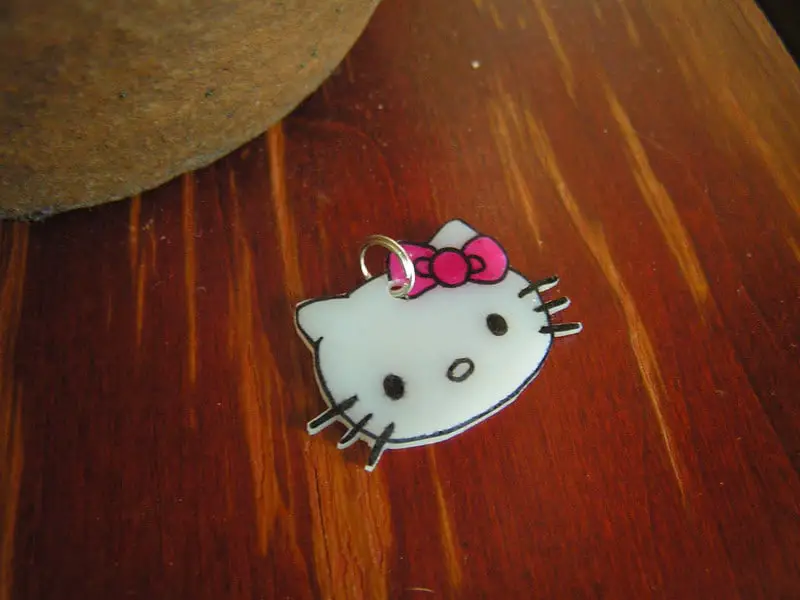
The flexible sheets of plastic are famous for shrinking to ⅓ of their size. Cartoon characters, famous logos, and pop icons all had their likeness shrunk down and carried on the clever charms. Shrinky-dinks remain as cool and versatile as they were in the eighties.
The magic of shrinky-dinks is in their main ingredient: polystyrene – the fancy scientific word for common #6 plastic found in materials lying around the house. When pressed into thin sheets and heated, the plastic shrinks (hence the name) into a miniature version of itself.
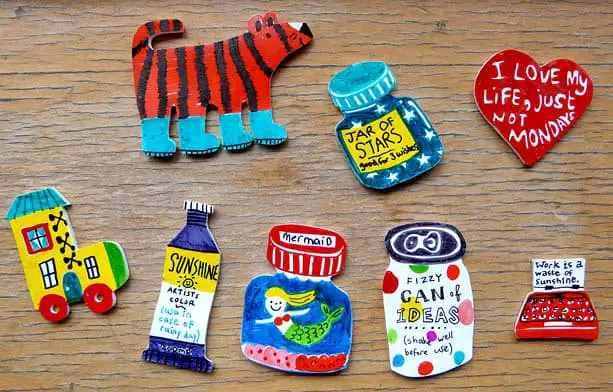
But the fun isn’t just in the magical shrinking. Shrinky-dinks come as a blank canvas just begging for color. It’s a project that you truly make your own. All you need is acrylic paint, scissors, and imagination.
Supplies Needed for Shrinky-Dink Ornaments
- Shrinky-dink Paper
- Scissors or X-Acto Knife
- Acrylic Paint or Acrylic Paint Pens
- Paperclips or Ribbon (for hanging)
- Hole Punch
- Pencil (for tracing)
- Stencils (optional)
- Cookie Cutters (optional)
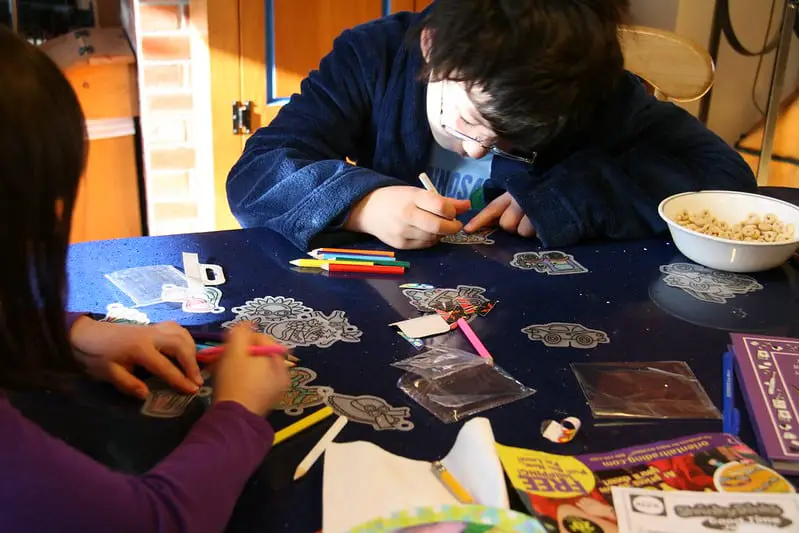
The great thing about shrinky-dinks? They aren’t hard to work with. Think of them as magic coloring books. You draw what you want on them, color it in, and after some time in the oven, you get adorable mini-versions of the artwork.
You can color shrinky-dinks with sharpies or other markers, but they aren’t as vibrant as working with acrylic. That being said, you do need some patience to do shrinky-dinks with acrylic paint right.
Step One:
Preheat the oven as directed by your shrinking paper. Most require baking at 350 degrees Fahrenheit.
Step Two:
Get creative! Decide what you want your ornament to look like. Will it be a red and white candy cane? A Christmas star? Perhaps a gingerbread man? For just about any shape of ornament, I recommend looking for a printable design or using cookie cutters for easy tracing.
Start tracing out your designs lightly in pencil. Remember that these designs will shrink up to ⅓ of the size, so it’s important to adjust their size accordingly.
Once you have the general shape drawn, cut out your ornaments.
Step Three:
Grab the acrylic markers and get ready to paint! I highly recommend testing the markers on a scratch sheet of paper to make sure they’re ready to use, to prevent any excessive paint build up on the paper.
This is where patience comes into play. For truly vivid colors, two layers of acrylic paint are the way to go. Be sure to let each layer of paint dry before trying to add any additional color.
Why Layer the Paint?
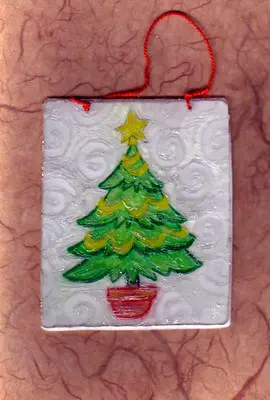
Layering acrylic paint is what gives these ornaments that wow factor and deepens colors. Layering also allows you to add intricate details to the ornament itself. A layer of green could be the base of a Christmas tree, and the second layer could be colorful ornaments on the tree.
Step Four:
Place the shrinky-dinks onto a sheet of aluminum foil or baking tray. Note that using baking trays will require a longer cooking time for the ornaments. Bake for about 3 minutes in the oven before removing. You’ll know they’re ready when they stop curling up and have lain flat again.
Don’t let them overbake or the ornaments may start to burn, ruining your Christmas creation!
Step Five:
Let the ornaments cool completely before using the hole punch to create a place for your paperclip or ribbon. Once your ribbon or paperclip is in place, wrap-up your homemade gift with a smile because whoever it’s for will love it!
Final Thoughts
Whether you are making a fun Shrinky Dink project, or Christmas ornaments, remember to follow the steps and guidelines above to ensure your Shrinky Dinks come out amazing.
Check out my other articles fr all your acrylic painting Q&A’s. Happy painting!